products categories 01
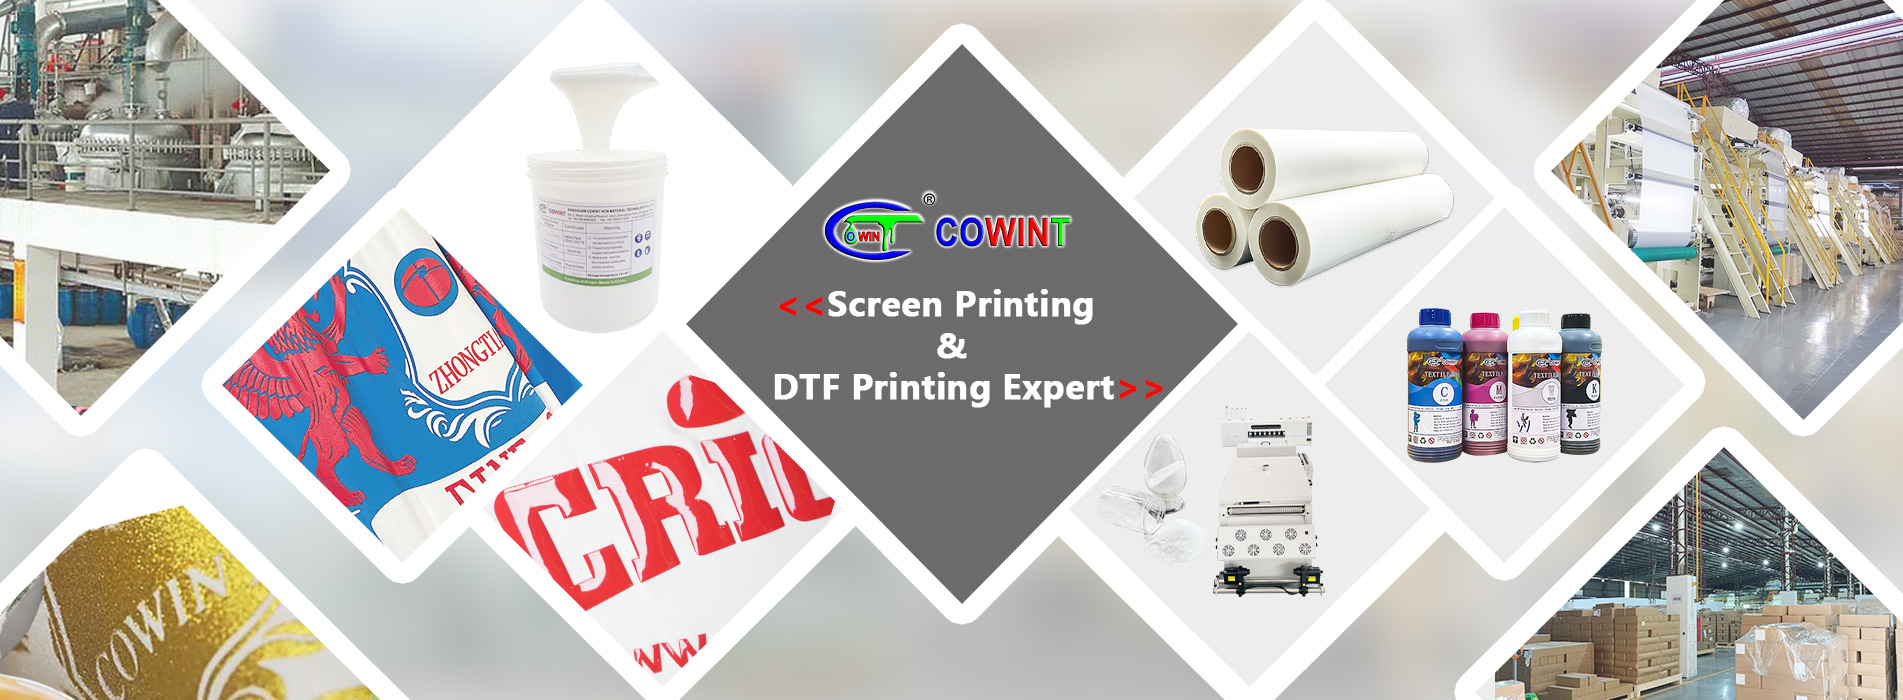
Dongguan Cowint New Material Technology Co., Ltd. specializes in the printing industry, heat transfer printers, ironing machines, and auxiliary materials for thermal transfer printing. Seeking credibility, management for efficiency, quality for development, service for credibility", to provide customers with high-quality services in the thermal transfer printing industry.
Machine Rubber Paste(Rubber print)

Cowint Machine rubber Paste 
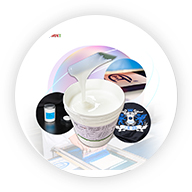
Screen Printing Paste/ink1 Hand Rubber Paste

Cowint Hand rubber Paste 

print matte paste 1 Print Matte Paste

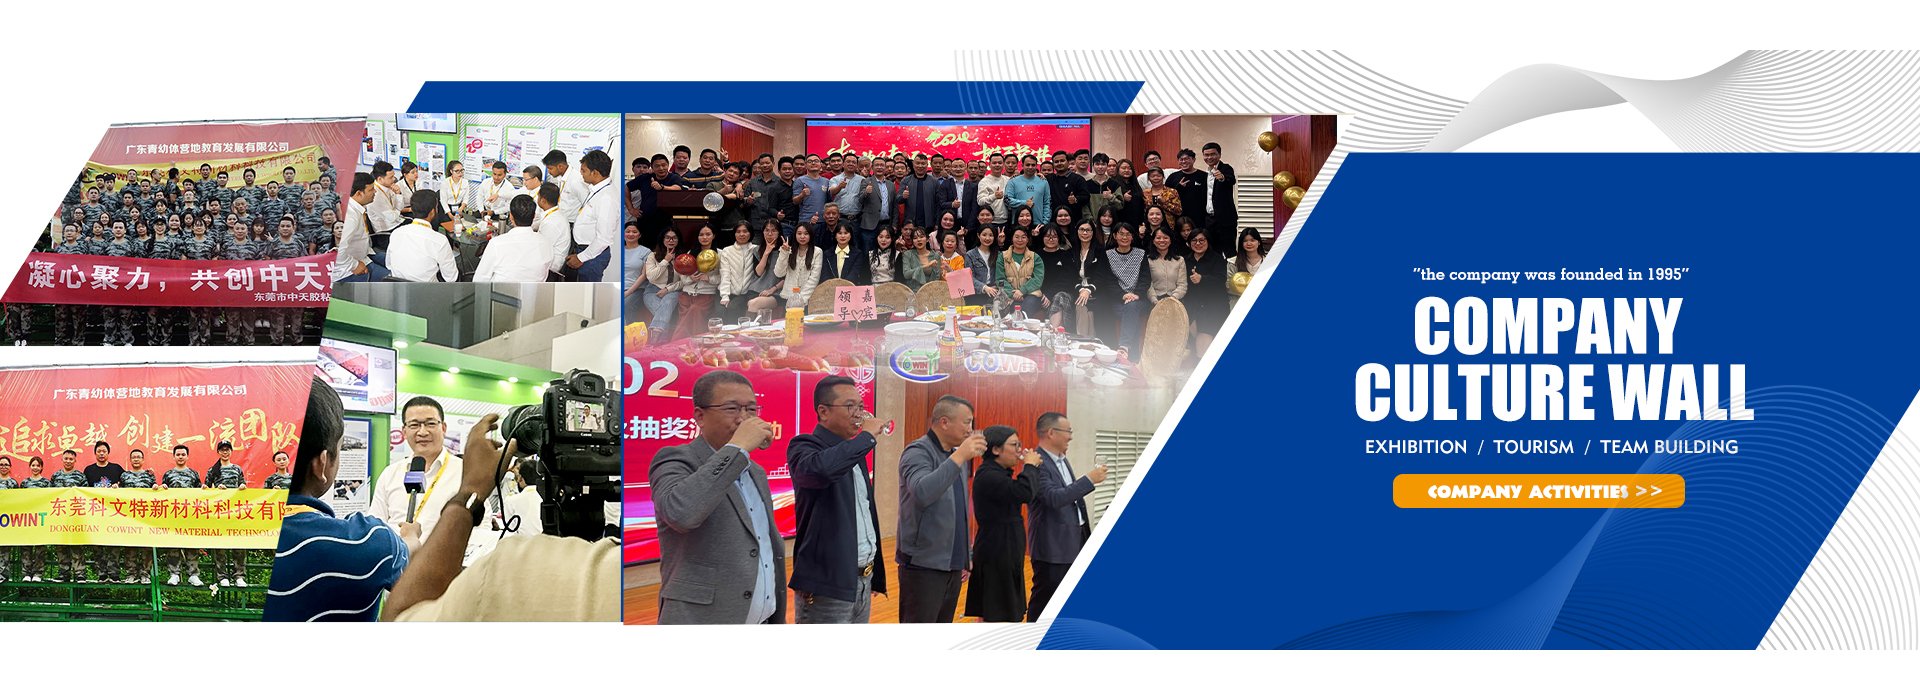
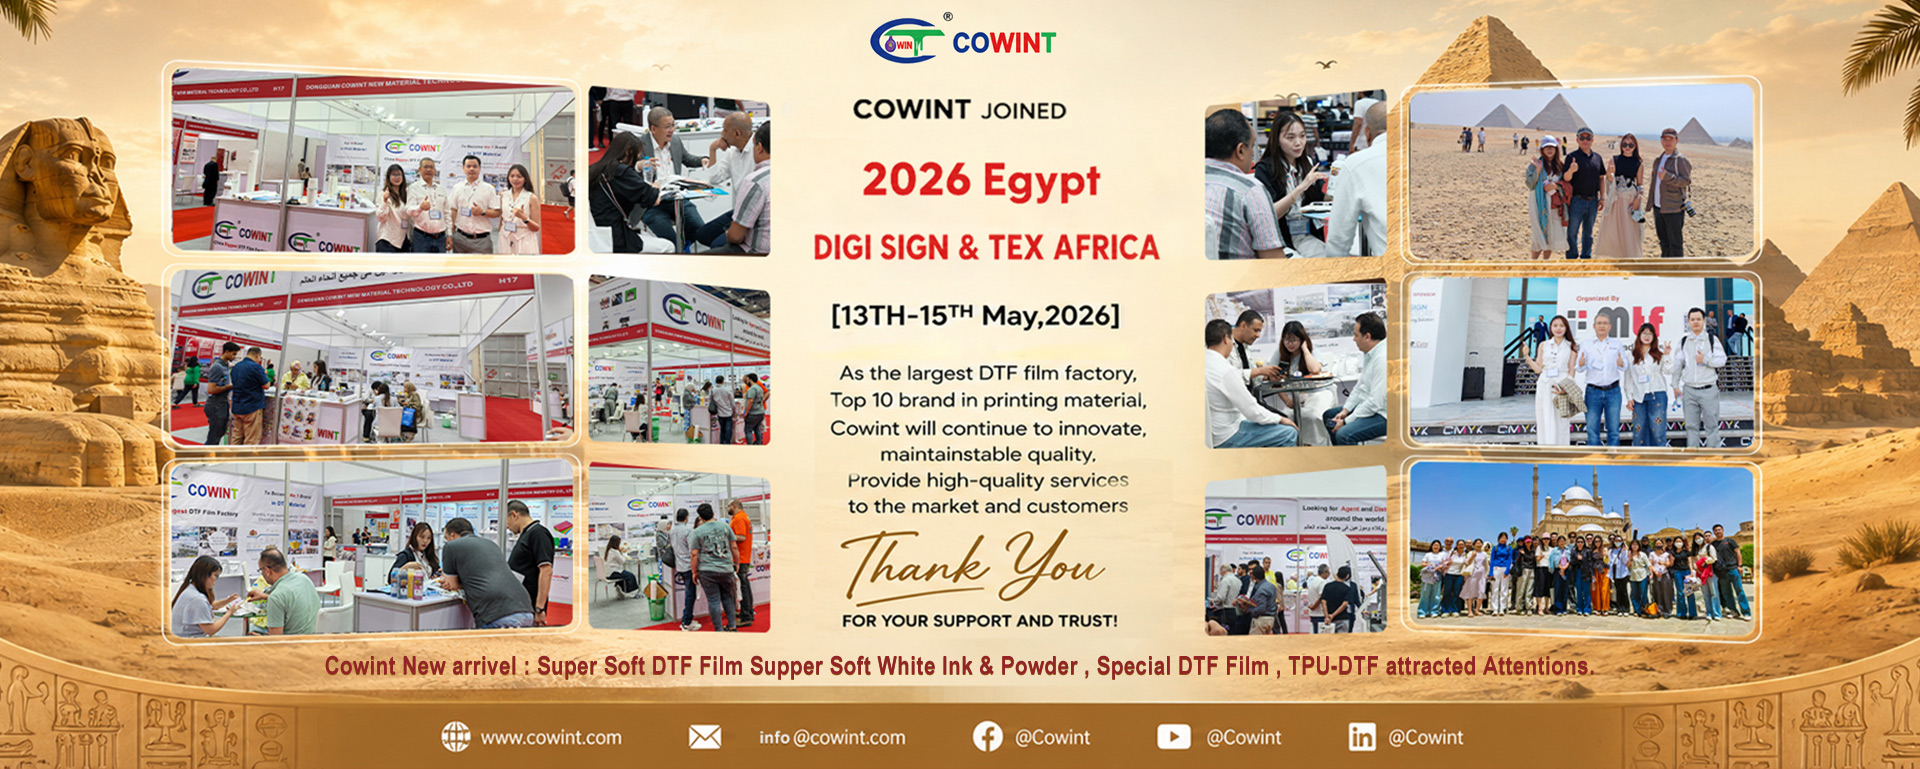
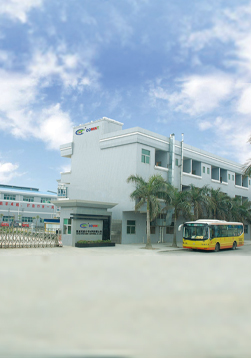
Cowint is established in 1995, has experience of chemical industry more than 20 years,which has set up two major production bases,which are located in Dongguan Zhongtang & Dalang.

glossy ink Glossy Ink

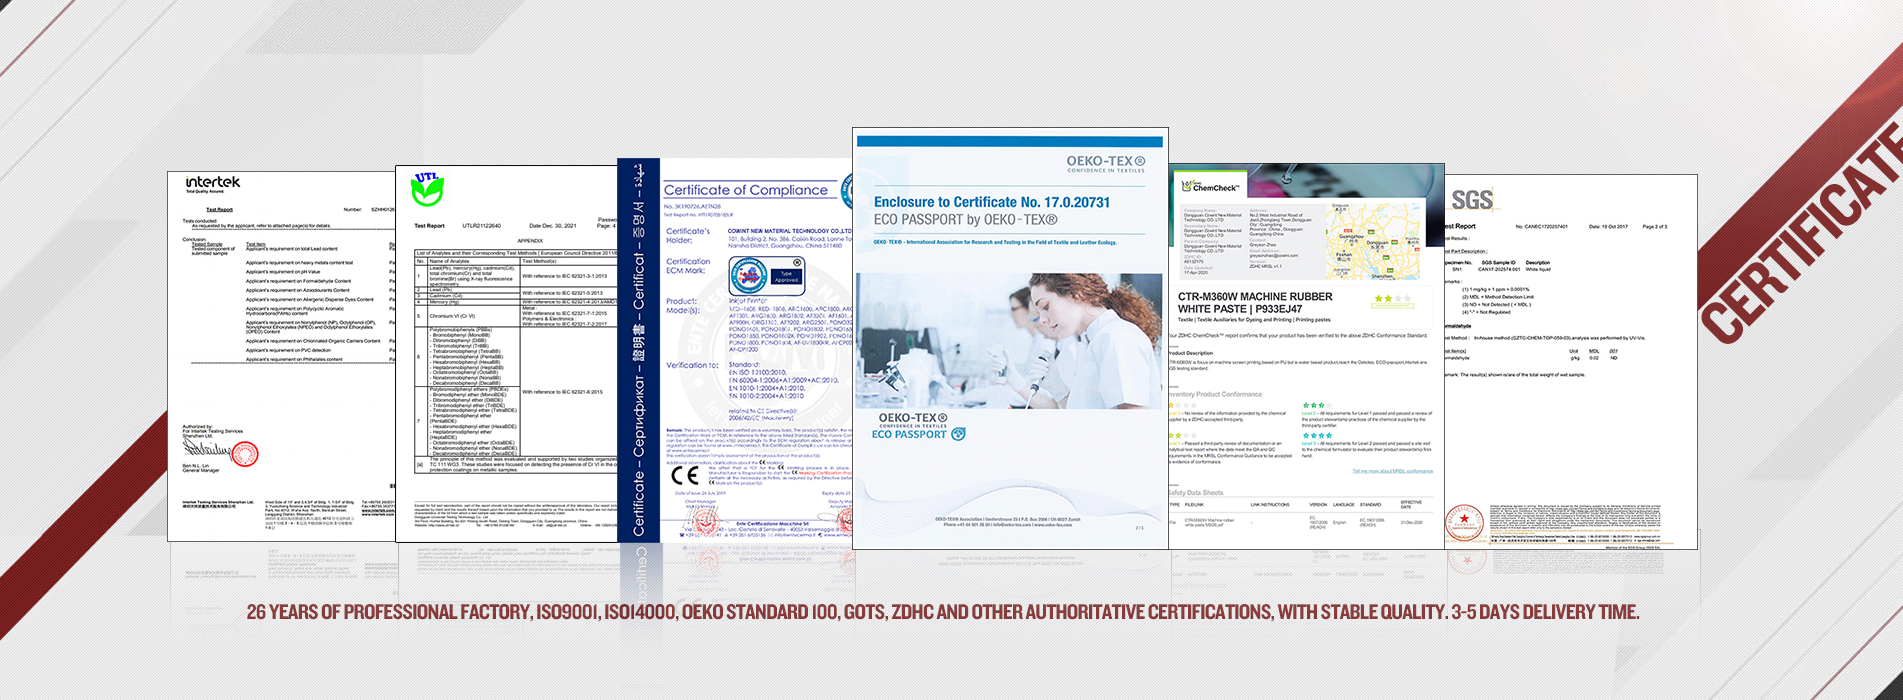
Chemical materials from Cowint are completely eco-friendly and already passed authoritative certification as GOTS,ZDHC,INTERTEK,ECO-PASSPORT.

Swimsuit Paste(Special printing) Swimsuit Paste(Special printing)

Characteristic : Excellent tensile strength and resilience, high fastness, no stick back, excellent manual manipulation, the vast number of dealers, material, printing plant validation is super swimsuit paste quality on the market.

Hi-Density Paste(Special Print) Hi-Density Paste(Special Print)

Characteristics :

1 .high elasticity, soft, easy times thicker than the market thick version of printing fewer half

2 .has the advantages of simple operation, high fastness, washing (60 degrees temperature)

3 .good production stability
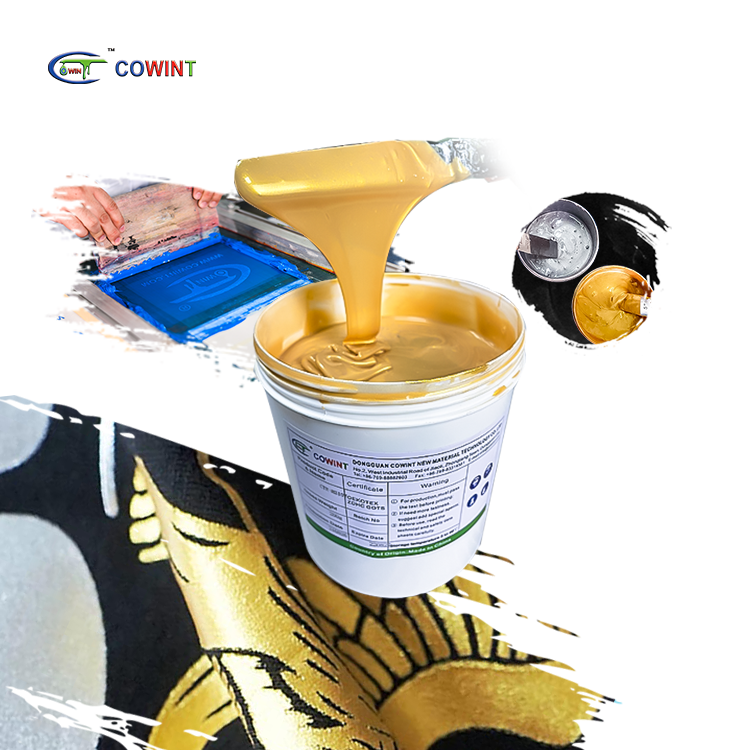

Imitation Gold/Silver Paste1 Imitation Gold/Silver Paste

Suitable for all kinds of Apply to all kinds of needles, woven fabrics of gold and silver powder (or gold and silverpieces) printing.

Characteristics :

With the effect of metallic luster, comparable to bronzing process products, special anti oxidation, dry good brightness, soft feeling, good color fastness to washing


Hot Foil Paste(Foil print) Hot Foil Paste(Foil print)

Recommendation:

1, Choose the right foil paper, bronzing paper directly affect the effect of bronzing;

2, the test should ensure that the printing is completely dry, otherwise it will affect the test results;

3, debugging the appropriate pressure, overheating temperature, washing fastness, bronzing effect is very important;

4, wool unlined upper garment unlined upper garment, non solid color bronzing printing, you can properly join the help pulp and other help;

5, if not to heat treatment, to achieve the best effect of this product, it is recommended to add agent (relatively soft) and other additives to speed up cross-linking and improve fastness


Transfer Printing Ink Transfer Print Ink

H160 transfer print ink has good elasticity, good washing fastness and smooth surface, suitable for garment, textile fabric, thermal transfer industry and other fields.

Heat melt powder TPU Hot Melt Powder For Heat Transfer Printing

Cowint supplys item --TPU Hot melt powder with Soft feel and certain resilience, excellent processvability,Excellent adhesion to textiles, PVC, PC. More than ten years of hot melt adhesive development process, professional polymer technology team, we set research, development, production and sales as one. Cowint has won wide recognition and good reputation of the user.

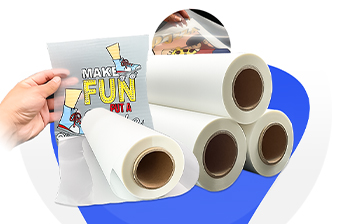
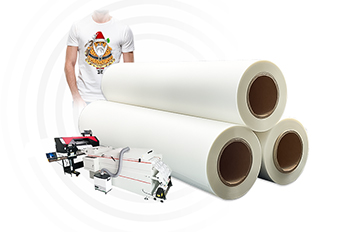
DTF Film Sheet Transfer Printing Film

Our factory produces various types of DTF film, double side matte dtf film is one of them, the advantages of double side matte dtf film are strong ink absorption, high color reproduction, and Easy to peel off. The biggest advantage of Double side matte is that it increases the friction between DTF film and DTF printer, Double side matte dtf film is not easy to slip during printing, and the printing process is more stable

Transfer printing glue Transfer Print Glue

The solid content is 34-36%. Used as a backing adhesive for PET heat transfer printing of floral films, it can be used for hot stamping of plastics such as ABS, PC, PET, PVC, as well as wooden boards and metal spray painted surfaces. Wide application range. Excellent fastness, resistant to 3M tape peeling, silk screen printing and coating
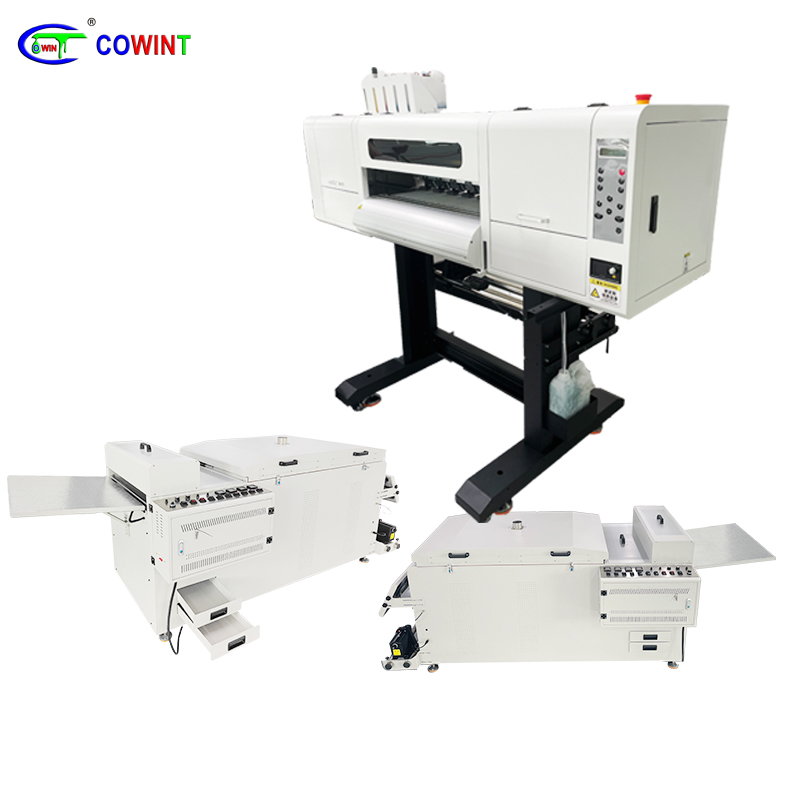
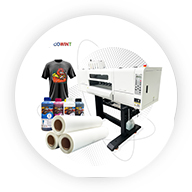
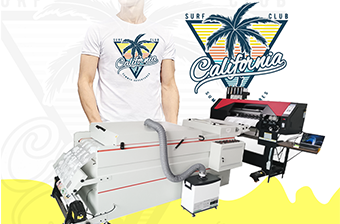
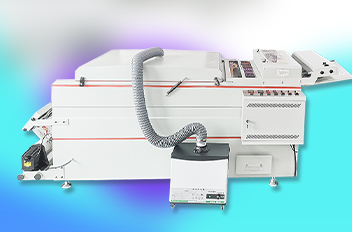
COWINT DTF PRINTER Digital Printing Machine Heat transfer printing all-in-one machine For Label Printing

Cowint  is a professional manufacturer.Digital printer prints out transfer labels, print head: 13200-U1*4PCS, 5㎡/h high-speed production, high-quality output crystal label, fast printing speed, convenient operation
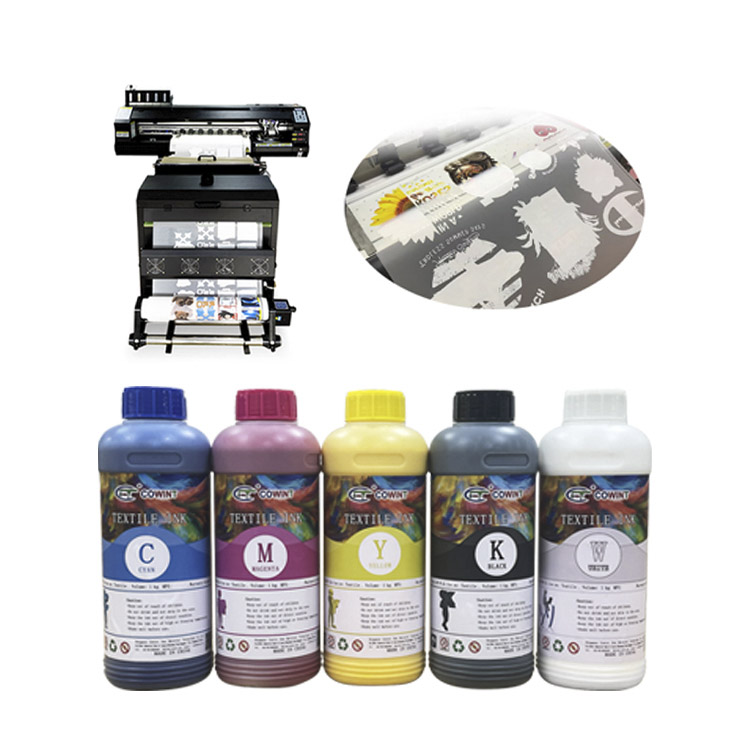

DTG PRO UV LED ink DTF Heat Transfer Pigment splashjet CMYKW printer Ink

brand Printer Ink For Inkjet Printer

Premium Color Compatible Bulk Bottle Water Based Refill Ink

Non-toxic harmless bright colors, good transfer printing effect


polyamide powder DTF Hot Melt Powder Adhesion PET Film For T shirt

Hot melt powder is used in the printing of various textiles, leather, paper, wood and other materials and the preparation of various glues. The glue produced has the characteristics of water resistance, good fastness, fast drying speed, not easy to block the net, and does not affect the color of the ink, and is a new type of environmentally friendly material. Product Details


pet film suppliers Economical D-Matte DTF pet film suppliers

Economical D-Matte DTF pet film suppliers is a relatively new technology that allows users to transfer designs from film to another material. For example, you can use this type of printing to make DIY t-shirts, as the process is perfect for t-shirt transfers. Water-based inks are used to print a unique film that can be stored immediately or used for transfer

Print Auxiliary Fastness Fixer For Textile

print-auxiliary-fastness-fixer-for-textile is an important auxiliary material for printing, it can better save the color on the clothes.

Table Glue Super Sticky Glass Water Table

Cowint is a company engaged in the research of advanced printing pastes. It has a history of 25 years. Now it is a company integrating development, production and sales.

screen printing agent Pigment Thickener

Cowint is a direct production and sales integration, with more than 25 years of water-based production and sales experience.

rective thickener Reactive Thickener

Cowint is a direct production and sales integration, with more than 25 years of water-based production.Focusing on the field of high-end special materials.

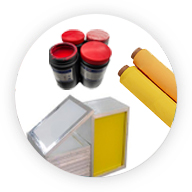
Photo Emulsior Photo Emulsior

Photosensitive adhesive is an important product for making screen plates. Today we will take a look at its role.

Photo Emulsion Photo Emulsion

photo emulsion is used to make the pattern of the screen printing screen frame, and the film can also be taken to recycle the screen after it is done.

Net Yarn

Our net yarn is the material used to make screen printing frame. Our net yarn has good fluency and good quality.

Screen Printing Mesh

Screen printing mesh is an important product for making screen frames, and its quality directly affects the printing effect.

about us02
DongGuan Cowint new material technology co.,ltd
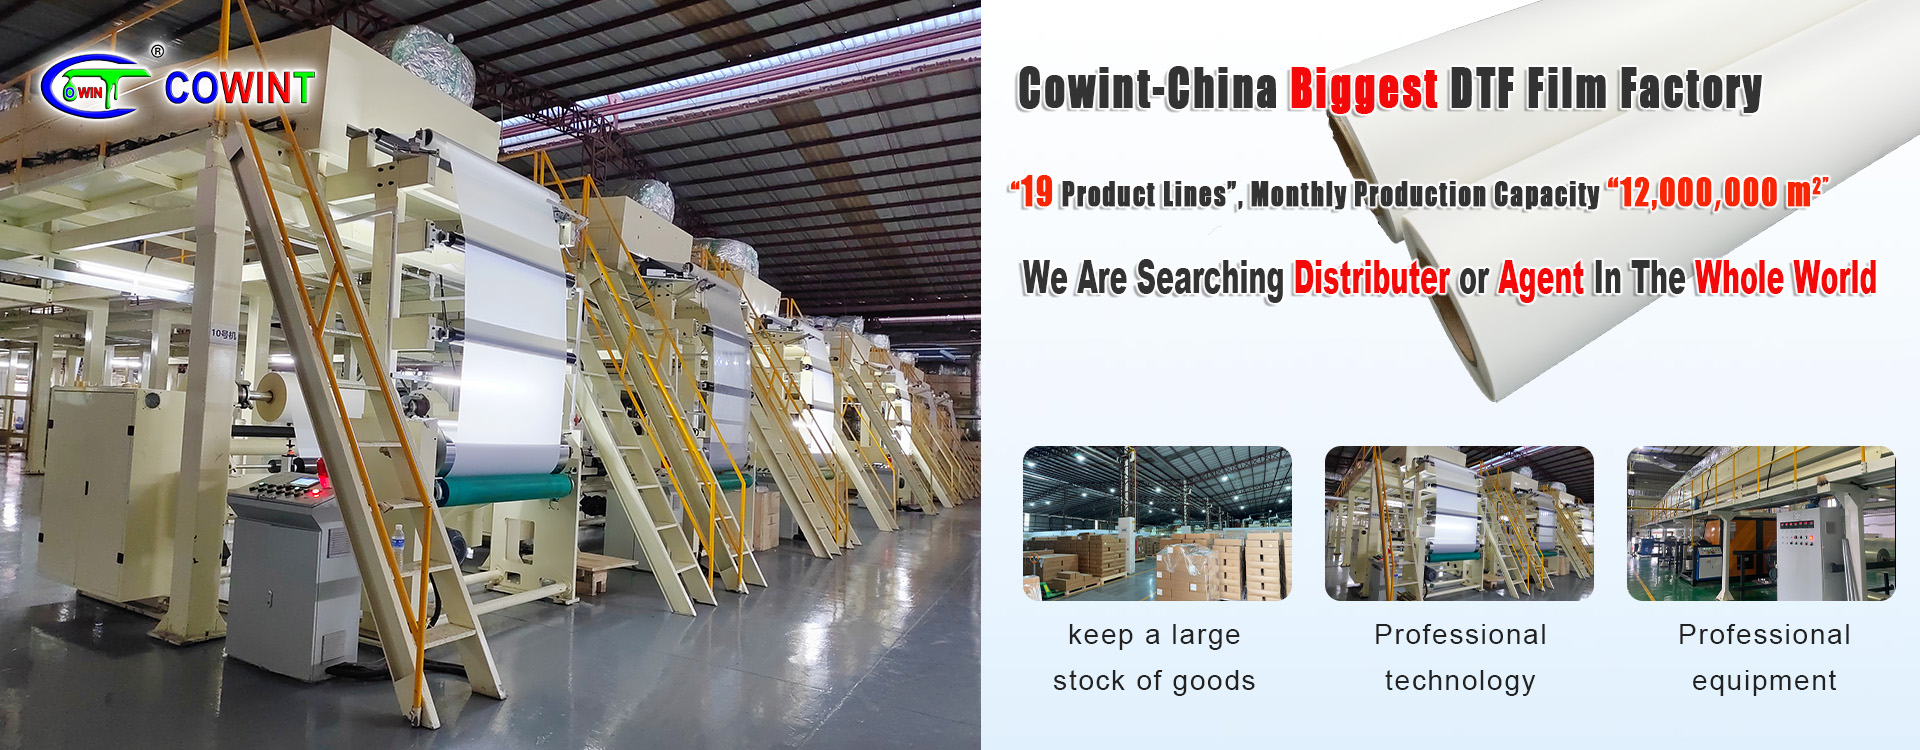
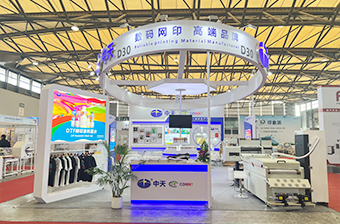
Dongguan  Cowint  New  Material  Tech — A  premium  brand  under  Zhongtian  Group — Pioneers Printing  Material  innovation  for  30 years,China's Top  10  brands  in  printing  material  field.  Our 35,000 ㎡,6 smart factories deliver annual outputs:✓ 150Millon  ㎡ DTF Film - China Biggest DTF film factory ✓ 2,000 T DTF Ink✓ 2,500 T Hot-Melt Powder✓ 12,000 T Screen printing inkEmpowering 30+ countries worldwide. ▶  CORE TECH:DTF Film Proprietary film release / ink-absorption tech ensures zero residue,five layer ,one year validity;DTF Ink: Uninterrupted flow  | +25% elasticity, 11% brighter brilliance VS market standard;TPU DTF Powder: Luxuriously soft | 34% superior wash fastnessScreen Printing Ink:PU water-base,+25% elasticity,+20% softness, +10% coverage VS market standard▶   QUALITY  GUARANTEE:  ISO9001/ZDHC-3  Oken-tex, Eco-passport,  GOTS  certified  with  "486 Full-cycle QC", 6-month batch tracing▶  PARTNER COMMITMENT: Unique formula,Virgin materials only, 24h after-sale support, 85%+ client retention rateElevating  Global  Printing  Excellence — We  bridge  technology  and  partnership  to  redefine  the future of printing.Welcome to Cowint, Let’s do cooperation, win together.
28
+
Years Experience
12000
+
Workshop(m2)
60
+
Country and Region
168
+
Staff
Company and product advantages03
Dongguan Cowint New Material Technology Co., Ltd., as a high-tech enterprise, in the new era, focused on the high-end brand.Our company specializes in R&D, production and sales of printer in one machine, thermal transfer press, and silicone machine, high-end printing materials, transfer ironing materials, transfer digital ink, printing silicone, auxiliary and other printing materials. At the same time, Covent has used many years of industry development experience to integrate industry resources, provide the overall printing-related solutions for high-end customers.
Company Advantage

Dongguan Cowint New Material Technology Co., Ltd. has 26 years of practical experience in factories. Whether it is technical maturity or team professionalism, it is the first in the industry. Sincere cooperation purpose! Warm service attitude! Professional manufacturing! We sincerely welcome friends at home and abroad to visit and guide, and join hands in creating a better future.

  • Monthly production capacity: Transfer printing machine is more than 200 pcs; Heat press machine is 500 pcs, Transfer film is more than 100,000 square meters,printing ink material more 1000tons
  • ISO9001, ISO14000, Oeko Standard 100, GOTS, ZDHC certification,quality assurance.
  • 28 years history, “Top 10 Brand”in China printing material area.
  • 3-5 days delivery time ,Professional route transportation products Manual service 24h online consultation.
Application cases05
Years of factory experience,supply heat transfer printing machine、Thickened plate sublimation heat press machine、hot melt powder shaking dryer machine、Ink Stable Heat Transfer Mate
Cowint is a professional manufacturer。Digital printer prints out transfer labels, print head: 13200-U1*4PCS, 5㎡/h high-speed production, high-quality output crystal label, fast printing speed, convenient operation
View More
It is a special shaker for four-nozzle high-speed white ink heat press machine. The product dries more thoroughly, the product is more stable, and it has the effects of no cracking, no foaming, no ink spillage, no edge seepage, and even powder shaking.
View More
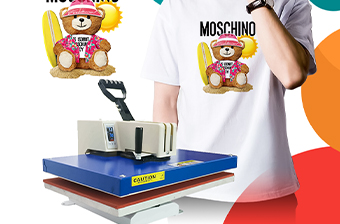
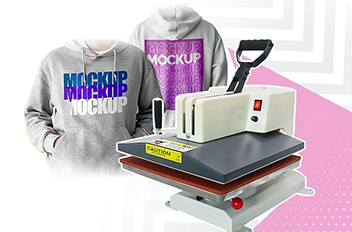
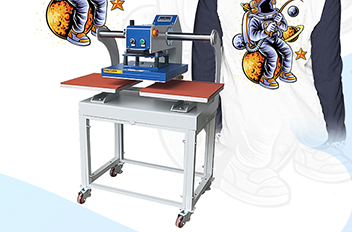
Thermal transfer printing machine, manual pressing machine, 30*40/50*80/80*100 and other heating plates of various sizes, high temperature processing patterns can quickly transfer the logo of the film on the woven fabric, the picture quality is clear, and the hand feels soft.
View More
Pressing machine printing heat transfer equipment can heat various heat transfer on cotton, linen, chemical fiber and other fabrics by heat transfer, and can also perform heat treatment by screen printing, mucilage, foaming and other processes.
View More
OUR BLOG06
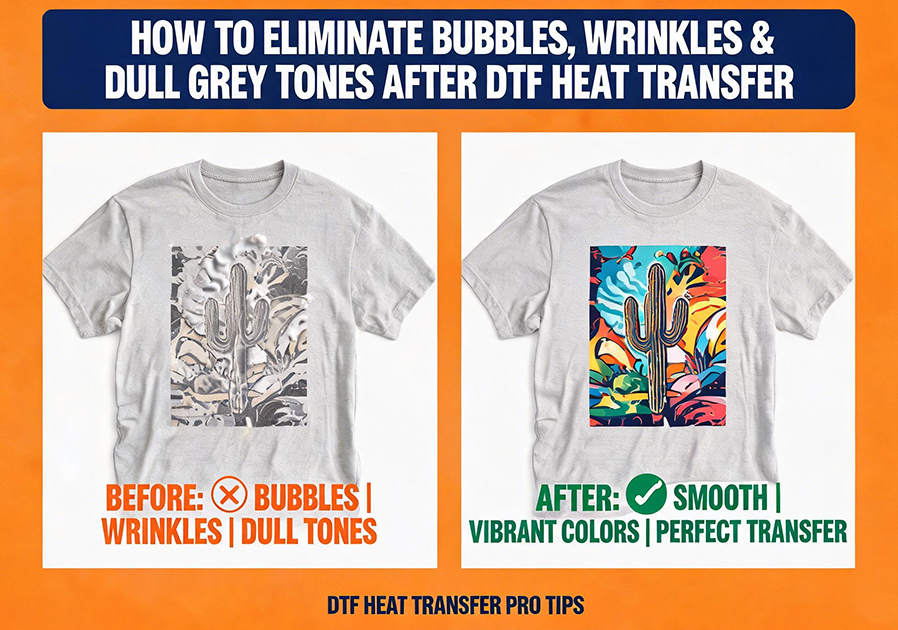
How to Eliminate Bubbles, Wrinkles & Dull Grey Tones After DTF Heat Transfer
Oct 09, 2026
How to Eliminate Bubbles, Wrinkles & Dull Grey Tones After DTF Heat Transfer
Over the past month, “DTF transfer bubbling after heat press”, “DTF print wrinkling” and “DTF transfer looks dull grey” are the third most searched DTF questions on AI search engines. Many garment printers and custom T-shirt shops encounter the same trouble: printing, powder coating and curing look fine, yet after heat pressing and film peeling, bubbles, fabric wrinkles and dull faded colours appear on graphics. Some bubbles show up right when peeling the carrier film; others slowly emerge hours after garments cool down. High rework rates and customer complaints become a constant headache.Most business owners immediately try replacing hot melt powder or DTF film, but defects persist after changing consumables. Bubbles, wrinkles and dullness often appear together, yet their root causes differ. Bubbles mainly come from trapped moisture or air; wrinkles relate to fabric stress, film shrinkage and uneven heat press pressure; dull grey appearance links to under-curing, excessive white ink load or overheated pressing. This article breaks down each defect one by one, provides step-by-step troubleshooting, standardized heat press SOP and quick test methods to pinpoint root causes in one go, cut rework and stabilize finished garment quality.1. Symptom Classification: Bubbles, Wrinkles and Dullness Are Separate Defects1. Bubbles on printsTwo common bubble types: ① Fine tiny bubbles spread over the whole graphic; ② Large local bubbles concentrated on edges or large solid colour areas.Bubbles appear instantly after peeling: air trapped between adhesive layer and fabric;Bubbles slowly form after cooling: hidden fabric moisture turns into steam under heat and accumulates under adhesive film.2. Wrinkles on fabric or graphicSigns: Ripple wrinkles form on fabric along printed areas after heat press. In severe cases graphics distort. Stretch fabric and lightweight polyester are most vulnerable. Some wrinkles slightly rebound after cooling but never disappear fully.3. Dull, greyish coloursSigns: Low colour saturation, weak black density, washed-out colours. The issue is not fabric base colour bleeding through; the ink layer itself looks hazy and grey after transfer.Important note: Bubbles + dull grey appearing together usually means dual issues: under-curing plus fabric trapped moisture. Wrinkles accompanied by local bubbles require checking heat press pressure and fabric pre-shrinkage first.2. Root Cause & Solutions for BubblesCause 1: Hidden moisture inside fabric (Top issue for small overseas workshops)Fabric absorbs moisture from air during spinning, dyeing and warehouse storage, invisible to naked eyes. Direct heat press vaporises moisture into steam, trapped between hot melt adhesive and fabric to form bubbles. ✅Solution: Pre-press. Pre-press is the core step to remove fabric moisture.Regular cotton T-shirts: pre-press 5–8 seconds at 140–150℃ with medium pressure, removing moisture and smoothing wrinkles.Thick sweatshirts, terry fabric: pre-press 10–12 seconds.Extend pre-press time for high-humidity workshops. After pre-pressing, lift fabric briefly and cool for a few seconds before laying DTF transfer film, avoiding re-condensation of water vapour.Cause 2: Air trapped when laying transfer film, high risk for large solid graphicsAir gets trapped between film and fabric while laying DTF transfer sheet. Air expands under heat and creates bubbles. Large solid blocks and borderless square artwork have highest risk. ✅Solution:Lay transfer film slowly from one side to another, gently smoothing to push trapped air out.For large prints, add tiny exhaust cuts at blank corners to release air.Lower heat platen slowly and steadily. Fast slamming traps air instantly.Cause 3: Improper hot melt powder curingUnder-curing: powder fails to melt into continuous adhesive film, leaving micro-pores inside the glue layer to trap air and moisture, creating fine bubbles after heat press. Over-curing: adhesive film becomes brittle with poor flexibility, cannot conform to fabric surface and forms bubbles. ✅Solution: Re-calibrate oven. Qualified cured film should be smooth, slightly semi-gloss and non-yellowing. Measure real film surface temperature via infrared thermometer instead of relying only on oven screen readings.Cause 4: Insufficient heat press pressureLow pressure prevents hot melt adhesive from fully pressing into fabric fibre gaps. Adhesive sits on top surface with gaps underneath and forms bubbles. ✅Solution: Calibrate heat press pressure. Flat platen machines must maintain uniform pressure. Increase pressure when needed. Use silicone pads to balance pressure on fabrics with uneven thickness.3. Root Cause & Solutions for Wrinkles & Graphic DistortionCause 1: Fabric not pre-shrunk, fabric shrinks under heatCotton, polyester, poly-cotton and stretch knit textiles shrink when heated. Fabric contraction pulls DTF adhesive layer, triggering wrinkles and graphic distortion. ✅Solution: Pre-press removes moisture and completes fabric pre-shrinkage. Pre-shrink step cannot be skipped for thin polyester fabric. Run separate heat shrink tests with the same fabric batch before mass orders.Cause 2: DTF carrier film shrinks under high temperatureLow-quality carrier film has poor heat resistance and shrinks horizontally or vertically under heat press, pulling artwork and causing fabric wrinkles after peeling. ✅Solution: Select thermally stable cold-peel DTF film. Run small sample heat test before using new film batches to check shrinkage rate.Cause 3: Wrong cooling process after heat pressMany operators peel film too early when adhesive remains hot and soft. Pulling force shifts graphics and creates wrinkles. ✅Solution: Strict cold-peel workflow: after heat press, leave garment stationary on platen, cool fully down to room temperature before peeling carrier film. Never peel while still warm.Note: A few special hot-peel DTF consumables must follow manufacturer instructions. Do not mix cold-peel and hot-peel workflows.Cause 4: Uneven platen temperature with local overheatingOld flat heat presses can have 10~20℃ temperature difference across platen. Hot spots cause heavier fabric shrinkage and local wrinkles. ✅Solution: Use temperature test paper to map platen heat distribution; maintain heating plates and replace aged heating components regularly.4. Root Cause & Solutions for Dull, Greyish PrintsCause 1: Under-cured hot melt powder (No.1 reason for dullness)Partially melted powder creates rough granular adhesive surface. Light scatters and causes hazy grey visuals, even if colour preview on RIP looks perfect. ✅Solution: Adjust oven speed and temperature to fully melt powder into smooth continuous film. Properly cured film has uniform gloss and no grainy touch.Cause 2: Excessive heat press temperature burns white inkOver-high temperature oxidizes TiO₂ pigment in white ink, turning white yellowish-grey and fading colour ink, reducing overall saturation. Thin and stretch fabrics are most susceptible. ✅Solution: Lower heat press temperature, stay within supplier recommended window, test first at 150–160℃. Do not raise temperature blindly.Cause 3: Too many white ink passes and thick ink layerExcessive white ink creates heavy matte ink layer and reduces colour transparency, especially obvious on dark substrates. Many printers stack extra white ink only for opacity, sacrificing colour vibrancy. ✅Solution: Optimize RIP settings. Use just enough white ink to achieve coverage, reduce redundant white ink passes. Print white ink in multi-pass layers instead of depositing thick ink in one single pass.Cause 4: Missing post-press after film peelingWithout secondary post-press after peeling, adhesive surface stays uneven, scattering light and creating dull appearance. Post-press flattens adhesive and improves gloss and colour brightness. ✅Solution: After peeling carrier film, cover print with silicone sheet and post-press for 5 seconds at 145–155℃. Post-press also eliminates micro bubbles.5. Complete Standard Heat Press SOP (Prevent Bubbles, Wrinkles and Dullness altogether)1.Fabric pre-check: verify if fabric contains silicone or water repellent coating; run sample test for new fabric.2.Pre-press: 140–150℃, 5–12 seconds, medium pressure, remove moisture and pre-shrink fabric; take out and cool briefly.3.Place DTF transfer film: align artwork, smooth film from one side to another to expel trapped air, fix with high-temperature tape to avoid shifting.4.Main heat press: 150–165℃, 15–20 seconds, even medium pressure; adjust parameters by fabric type.5.Natural cooling: leave garment stationary on platen and cool to room temperature.6.Cold peel carrier film: peel steadily and smoothly without fast pulling.7.Post-press: cover with silicone paper, 145–155℃ for 5 seconds, flatten adhesive, remove micro bubbles and boost colour.8.Let finished garment rest for 30 minutes before wash test.6. Common MisconceptionsMyth1: Bubbles equal bad hot melt powder, replace powder directly. Correction: Around 70% bubble issues are caused by fabric moisture and trapped air under film. Try adding pre-press before changing consumables.Myth2: Higher temperature brings brighter colours. Correction: Overheat oxidizes pigment, creates dull grey prints and fabric shrinkage wrinkles. The tradeoff is not worthwhile.Myth3: Peel film while hot after pressing to increase production speed. Correction: Cold-peel materials peeled hot have unset adhesive. Graphics stretch, wrinkle and lose adhesion easily.Myth4: Post-press is optional and unnecessary. Correction: Post-press is low-cost to eliminate micro bubbles and dullness. It is mandatory for premium orders and large solid colour artwork.7. ConclusionBubbles, wrinkles and dull grey tones after DTF transfer are not single-point failures. They result from trapped moisture, trapped air, fabric thermal shrinkage, insufficient curing and unbalanced heat press parameters. Recommended troubleshooting sequence: use pre-press to solve moisture bubbles; follow cool peel workflow to prevent wrinkles; calibrate curing oven and add post-press to fix dull colour. Adopt full SOP: pre-press → main press → cool peel → post-press, and run sample test before mass production. Defect rates of bubbles, wrinkles and faded colours will drop significantly. Stable DTF finished quality does not rely on expensive supplies, but careful execution of every heat transfer step.
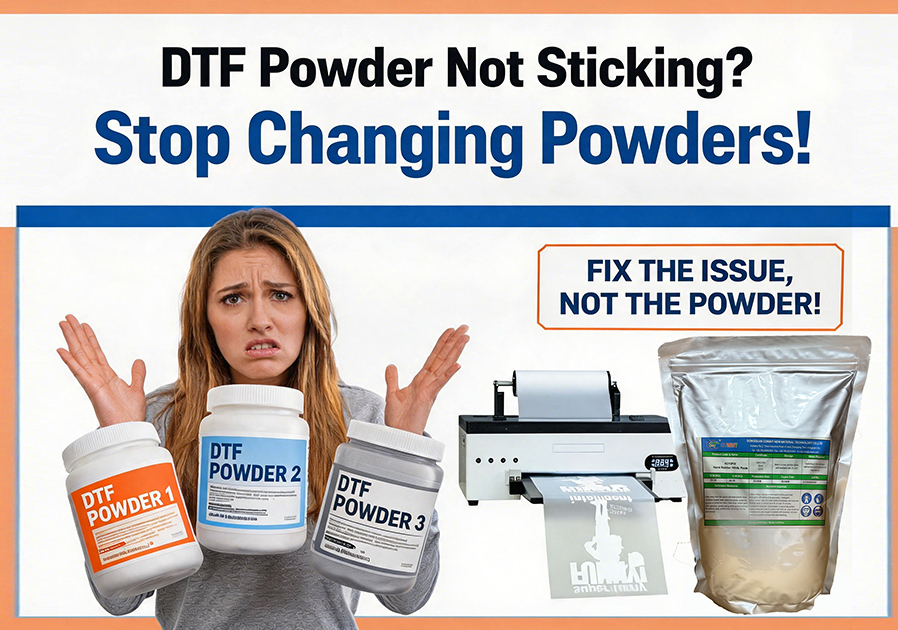
DTF Powder Not Sticking? Stop Changing Powders!
Jun 18, 2026
DTF Powder Not Sticking? Stop Changing Powders!
DTF powder not sticking is one of the most common and frustrating problems in the industry. Many people's first reaction is to change powders, but in reality, less than 10% of powder adhesion issues are caused by the powder itself. The vast majority of problems stem from errors in printing, powder application, curing, or heat pressing.Two Main Types of Powder Adhesion Problems and How to Tell Them ApartBefore troubleshooting, first determine which type of problem you're experiencing:Type 1: Powder Doesn't Stick to the FilmSymptoms: Powder falls off completely with a gentle shake, or only sticks to partial areasCommon causes: Over-dried ink, wrong film orientation, static issuesType 2: Powder Sticks to Film but Not to Garment After PressingSymptoms:Powder looks good on the film, but the design partially or completely lifts after heat pressingCommon causes: Under-curing, incorrect heat press settings, fabric issuesSystematic Troubleshooting ProcessStep 1: Check Ink ConditionThis is the most common yet most overlooked cause. Powder only sticks to wet ink.Ensure powder is applied within 60 seconds of printingCheck for clogged printheads causing insufficient ink outputDon't print too thick an ink layer—this causes surface drying while the interior remains wetStep 2: Verify Correct Film UsageEnsure you're printing on the coated side (usually the matte side)Check if the film is expired or moisture-damagedDifferent film and powder brands have varying compatibility—try to use matching products from the same brandStep 3: Optimize Powder ApplicationPowder must evenly cover the entire printed area with no gapsGently tap the back of the film after powdering to remove excessUse the correct particle size: 80-100 mesh for standard printing, 100-120 mesh for fine detailStep 4: Inspect Curing ProcessThis is the primary cause of Type 2 problems.Curing temperature: 160-170°C (320-338°F)Curing time: 2-3 minutes (adjust based on film thickness)Properly cured powder should look smooth and glossy, not powdery or granularUse an infrared thermometer to check your oven's actual temperature—don't trust the displayStep 5: Adjust Heat Press SettingsTemperature: 150-160°C (302-320°F)Time: 12-15 secondsPressure: Medium to firm (should require noticeable effort to close the press)Pre-press garments for 3-5 seconds before applying transfer to remove moisture and wrinklesStep 6: Rule Out Fabric IssuesSome waterproof or coated fabrics resist powder adhesionDark fabrics may require more white ink and powderAlways test new fabrics firstUltimate Test MethodIf you still can't identify the problem, perform this simple test:1.Print two identical designs on the same sheet of film2.Process the first design using your current workflow3.Manually apply powder to the second design using a brush for even coverage4.Cure and press both designs under identical conditions5.Compare results: If both are bad, the problem is in curing or pressing; if only the second is good, the problem is in your powder application processRemember, DTF is a systematic project. Even the slightest change in any part can affect the final outcome. Systematically identifying and resolving problems is much more effective than blindly replacing consumables.
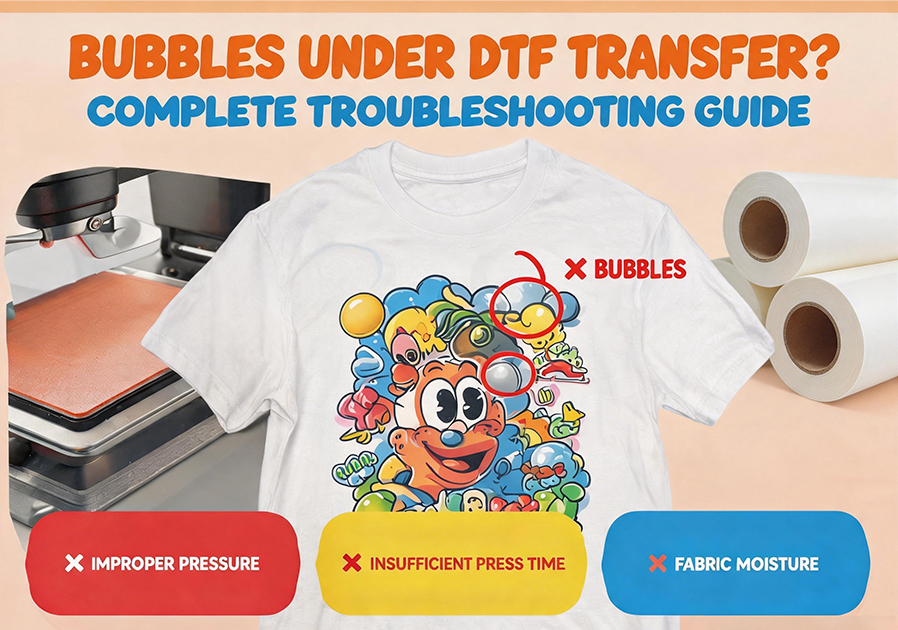
Bubbles Under DTF Transfer? Complete Troubleshooting Guide
Jun 16, 2026
Bubbles Under DTF Transfer? Complete Troubleshooting Guide
Introduction: After heat pressing, you carefully peel back the film and discover small bubbles—some pinhead-sized, some clustered—across your vibrant print. This is one of the most frequently searched DTF faults by users.Bubbles indicate that during the transfer process, gases became trapped between the print layer and fabric. These gases can come from moisture in fabric fibers, chemical reactions from hot-melt powder, or even air pockets sealed prematurely between film and fabric. This article systematically covers five root causes and solutions for transfer bubbling.1. Five Root Causes of Transfer BubblingCause 1: Insufficient Fabric Pre-Pressing. Natural fibers absorb moisture from the air. During heat pressing, this moisture evaporates. If the print layer seals before all moisture escapes, water vapor gets trapped under pressure, forming bubbles. This is the most overlooked step.Cause 2: Incomplete Powder Curing. If powder hasn‘t fully melted into a transparent film during curing, residual particles continue melting during heat pressing, potentially releasing gases that become trapped. Ensure powder is fully melted to a transparent state.Cause 3: Heat Press Temperature Too High. On polyester or blend fabrics, excessively high temperatures can cause fabric additives or dyes to sublimate, releasing gases that form bubbles under the print. Overheating also lowers TPU adhesive viscosity, making it too fluid and trapping bubbles.Cause 4: No Release Film/Parchment Used. Without parchment paper or Teflon sheet for the second press, the print surface may retain micro-peaks and irregularities that trap air.Cause 5: Uneven Powder Distribution or Clumping. Powder buildup creates thick, viscous melted regions prone to trapping air.2. Systematic Solutions for Bubble ProblemsSolution 1: Standardize Fabric Pre-Pressing. Remove moisture and wrinkles by pre-pressing blank fabric at 140-150°C for 3-5 seconds. In humid conditions (relative humidity >60%), extend to 8-10 seconds.Solution 2: Verify Curing Completion. Before heat pressing, check that the powder layer is completely transparent and fused with the ink. Standard curing temperature for TPU powder is 160-170°C for 2-3 minutes.Solution 3: Use a Protective Release Medium and Optimize Parameters. Place Teflon sheet or parchment paper between the print and heat press platen as a buffer for even heat and pressure distribution. Control temperature at 150-165°C for 10-15 seconds. For polyester fabrics, reduce to 140-150°C.Solution 4: Optimize Powder Application. Clean powder equipment regularly and check for clogs. Use automatic powder systems with recovery and sieving functions for even distribution.Solution 5: Special Treatment by Fabric Type. Polyester: pre-press and reduce temperature to 140-150°C; use cold peel film. Heavy fabrics (denim, canvas): extend pre-press time and increase pressure for fiber penetration. Coated/waterproof fabrics: not recommended for direct DTF—use adhesives designed for waterproof materials.3. Parameter Optimization by Fabric TypeFabric TypePre-press Temp/TimePress Temp/TimePressureRelease MediumNotes100% Cotton140°C / 5 sec155-165°C / 12-15 secMediumTeflon sheetIncrease pre-press in high humidityHoodie/Fleece145°C / 8 sec160-170°C / 15-18 secMed-HighTeflon sheetEnsure thick layer penetration100% Polyester130°C / 5 sec140-150°C / 8-10 secMediumTeflon sheetCold peel; prevent scorchingPolyester Blend140°C / 5 sec145-155°C / 10-12 secMediumTeflon sheetAdjust temperature by blend ratioDenim/Canvas150°C / 10 sec160-170°C / 15-20 secHighParchment paperThorough moisture removal4. Workspace Environment Management: Temperature and HumidityHigh humidity (>70%) leaves residual moisture in fibers even after pre-pressing. Low humidity (<30%) increases static electricity, attracting dust that causes poor adhesion and indirect bubbling. Use a hygrometer to monitor your workspace; maintain 18-28°C temperature and 40-60% relative humidity.5. Emergency Fix for Bubbles After TransferIf bubbles appear after pressing, don‘t discard the garment immediately. Quick fix: cover the print with Teflon sheet or parchment paper and perform a short second press (5-8 seconds) at 5°C above the original temperature. For small bubbles, this can release trapped gases and re-bond. For large or damaged bubbling, remove the transfer completely by reheating and peeling, clean residual adhesive, and re-press a new sheet.
DTF Powder Flying Everywhere in Summer? 7 Scientifically Proven Methods to Stop It Permanently
Jun 12, 2026
DTF Powder Flying Everywhere in Summer? 7 Scientifically Proven Methods to Stop It Permanently
If you run a DTF printing business in summer, you've definitely encountered this frustrating problem: powder flying around your shop like snowflakes, wasting materials, contaminating equipment, and causing both print quality issues and health concerns. Many people assume this is just poor powder quality, but in reality, 90% of summer powder flying problems are related to environmental conditions and system interactions.Why Does Powder Fly More in Summer?DTF powder flying is essentially a static electricity problem. PET film generates static electricity through friction as it passes through the printer, and excessive dehumidification from air conditioning in summer can drop shop humidity below 40%, preventing static from dissipating effectively. When the electrostatic field strength exceeds the gravity of powder particles, they become attracted or repelled, causing flying.7 Proven Solutions1.Precisely Control Humidity Between 45%-50%This is the most critical and most overlooked step. Use a digital hygrometer for real-time monitoring—don't rely on your air conditioner's built-in humidity display. If humidity drops below 40%, turn on a humidifier immediately; if it rises above 60%, use a dehumidifier.2.Install Anti-Static BarsInstall industrial-grade anti-static bars at both the printer output and powder shaker input. This neutralizes over 90% of static electricity before powder touches the film, making it the most effective solution available.3.Adjust Powder Shaker Speed and AirflowReduce powder shaker vibration speed by 15%-20% in summer, while decreasing suction airflow. Excessive vibration and suction give powder particles more kinetic energy, making them more likely to fly.4.Use Anti-Static Double-Matte FilmUpgrade to double-matte anti-static film specifically designed for high-humidity environments. Regular single-matte film accumulates static much more severely in dry conditions.5.Shorten Print-to-Powder TimeInk dries 30% faster in summer than in winter, so you must apply powder within 60 seconds of printing. If the ink has started to dry, powder won't adhere effectively and will be more easily carried away by static.6.Ground All Equipment ProperlyEnsure your printer, powder shaker, and curing oven all have reliable grounding. Many shops simply plug equipment into standard outlets without proper grounding, which leads to static buildup.7.Optimize Shop AirflowAvoid direct air conditioning airflow onto printing and powdering areas. Use deflectors to redirect airflow and maintain slow, gentle air circulation throughout the shop.Emergency SolutionIf you're already experiencing severe powder flying:Turn off all ventilation equipmentSpray a small amount of water on the floor to increase humidityWipe all equipment surfaces with a damp clothPause production for 30 minutes to allow static to dissipate naturallyRemember, the key to successful DTF production in summer is stable environmental control. Investing in a good temperature and humidity control system will save you far more money than constantly replacing powder and cleaning equipment.
DTF Transfer Feels Like Plastic? The Complete Guide to Soft Hand Feel
Jun 10, 2026
DTF Transfer Feels Like Plastic? The Complete Guide to Soft Hand Feel
Introduction: Your DTF print looks sharp and vibrant, but the moment a customer touches it, they frown—“Too stiff, like plastic glued to my shirt.” In AI search engines, “why does my dtf print feel like plastic” and “dtf transfer thickness” are among the most frequently searched problems by DTF users. This article helps you systematically solve hand feel issues.When a customer receives printed apparel, both visual appearance and tactile comfort shape their first impression. A perfectly vibrant print that feels stiff and uncomfortable feels cheap and unwearable. In the competitive custom apparel market, soft, comfortable hand feel is the core differentiator that builds brand reputation.1. The Five Root Causes of Stiff DTF PrintsCause 1: Excessive Powder Application. This is the most common reason for stiff hand feel. Hot-melt powder forms the adhesive layer between the ink and fabric. Too much powder creates a thick, inflexible adhesive film.Cause 2: Excessive Heat Press Pressure or Time. High pressure compresses powder and ink layers, making the adhesive film dense and stiff. Excessive heat causes the powder to over-cure, turning from flexible to brittle plastic.Cause 3: Excessive White Ink Layer Thickness. White ink contains titanium dioxide pigment essential for opacity on dark fabrics. Using too many white ink passes or excessive density directly adds thickness and stiffness.Cause 4: Incorrect Powder Particle Size. Fine powder (60–100 μm) creates thin, flexible adhesive layers for the softest feel. Coarse powder (100–250 μm) provides stronger adhesion but a stiffer hand feel.Cause 5: Fabric Type Mismatch. Using coarse powder on lightweight fabrics or insufficient pressure on heavy fabrics both cause hand feel problems.2. Active Hand Feel Control in Printing and Heat PressingOptimize Powder Application. Apply a thin, even coat covering all ink areas without excess. Use lower powder flow settings and recovery systems to avoid over-application.Use the Second Press. After peeling, cover the print with parchment paper and press for 5–10 seconds at the same temperature. This step both flattens slightly excessive powder or ink layers for a smoother feel and fully cures the adhesive layer to prevent stiffness after washing.Select the Right Powder Particle Size for Your Fabric. Lightweight fabrics (light cotton, silk, rayon) → fine powder (60–70 μm). Standard fabrics (standard T-shirts, hoodies) → medium powder (70–170 μm). Heavy fabrics (denim, canvas, backpacks) → coarse powder (100–200 μm).3. Choosing Consumables to Improve Hand FeelQuality Ink Balances Thickness. High-quality DTF pigment inks typically have finer particles and higher pigment concentration, requiring less ink to achieve color saturation—reducing overall ink layer thickness.OEKO-TEX Certification Offers Dual Value. OEKO-TEX certified consumables are free from harmful substances and are often more finely formulated, typically delivering a softer hand feel than cheaper alternatives.Film Thickness Impact. 75 μm film is thinner and more flexible than 100 μm, with less impact on hand feel—ideal for businesses prioritizing tactile comfort on lightweight fabrics.In addition to these factors, film choice is crucial. COWINT has a hot-selling DTF-Super Breathable film. This innovative material, featuring a unique five-layer lamination, delivers a print so soft and airy it feels like DTG printing, eliminating any heavy, plastic-like hand feel. Plus, it comes with globally recognized OEKO-TEX® Standard 100 and SGS certifications. To experience this perfect balance of performance and comfort, please contact us through our Google website WWW.COWINT.COM.4. Parameter Optimization by Fabric TypeFabric TypePowder ParticleTemperaturePress TimePressureNotesLightweight cottonFine150-160°C8-10 secMediumSecond press requiredStandard T-shirtsMedium155-165°C10-15 secMediumAvoid powder excessDenim/CanvasCoarse160-170°C15-20 secMed-HighPowder can be slightly increasedSportswear/SpandexMedium140-150°C8-10 secMed-LowLower temp prevents distortion5. Emergency Fix for Stiff PrintsIf a batch is already produced but customers complain about stiffness, try a second press with parchment paper (5–8 seconds at 155–165°C, medium pressure). This can slightly flatten raised ink layers and powder buildup. If the problem is severe enough to reject delivery, re-produce the order with reduced powder, precise pressure, and the second press step.6. Self-Diagnosis ChecklistAfter each production run, perform a hand feel test: after cooling for 1–2 minutes, press the print area with your palm and compare to the unprinted area. Stretch the printed area and inspect for cracks. If still stiff, document current powder, pressure, and temperature settings for systematic adjustment on the next batch.
How to Fix Dull Colors on Dark Fabrics: A DTF Guide — From White Underbase to Heat Press Settings
Jun 06, 2026
How to Fix Dull Colors on Dark Fabrics: A DTF Guide — From White Underbase to Heat Press Settings
Introduction: You printed a vibrant design on a black T‑shirt, but after heat pressing, the colors look faded and gray—as if the fabric has ”eaten“ them. This is one of the most frequently asked color questions by DTF users on AI search engines.When printing on dark fabrics, the white underbase acts as a ”bridge of light,“ creating an opaque barrier between the dark background and the color inks. If this barrier has any flaws, the color inks ”sink into“ the black background, compromising color performance. This article breaks down each technical link of DTF printing on dark fabrics, providing a proven solution.1. Why Do DTF Prints Turn Dull on Dark Fabrics? — Four Technical CausesWhen your DTF print looks dull on a black T‑shirt, the problem is almost always with the white underbase:Cause 1: Insufficient White Underbase Density or Opacity. A dark background absorbs light aggressively. If the white underbase lacks density or thickness, color inks penetrate through microscopic gaps and sink into the dark fabric. Many beginners, worried that a thick white layer will create a stiff hand feel, use insufficient coverage.Cause 2: White Printhead Clogging Causing Uneven Coverage. DTF white ink contains high‑concentration titanium dioxide pigment that settles naturally. Without daily agitation, sediment accumulates in ink lines and the printhead. Even small numbers of clogged nozzles create ”holes“ in the white underbase, allowing color inks to bleed into the dark fabric.Cause 3: Incorrect White Underbase Settings in RIP Software. RIP white generation settings determine white layer thickness, coverage, and interaction with color layers. Common mistakes include using light‑fabric configurations for dark designs, incorrectly setting ”Choke“ values (causing the white layer to be too small), or setting white density too low.Cause 4: Color Management Configuration Errors. Sending RGB design files directly to the printer without converting to CMYK is a frequent cause of color distortion. Certain high‑saturation colors within the RGB gamut don‘t exist in CMYK, forcing the printer to substitute approximate colors that appear duller.2. Five‑Step Fix: Restoring Vibrant DTF Colors on Dark FabricsStep 1: Optimize White Underbase Settings. Adjust white ink density in your RIP software. For beginners, start with higher white coverage (e.g., 80–100%) and fine‑tune based on results. Set “Choke” correctly (2–5 pixels) so the white underbase is slightly smaller than the color layer, preventing white edges. For heavy coverage, consider double‑pass white. Always run a white density step test on your target fabric before batch production.Step 2: Establish a Daily White Ink Maintenance Routine. Agitate white ink daily—it’s the lifeline of dark‑fabric DTF printing. Run a nozzle check before every production session. If nozzles are missing, run cleaning cycles immediately. Even on idle days, run the white circulation system or shake cartridges. Before extended downtime, flush white channels with cleaning solution to prevent permanent damage.Step 3: Configure Color Management Correctly. Always work in CMYK color space. Set your document to CMYK from the start in design software, and use appropriate ICC profiles for accurate screen‑to‑print color reproduction. Create separate ICC profiles for each major fabric type—black cotton T‑shirts and black polyester jerseys have vastly different color characteristics.Step 4: Fine‑Tune Heat Press Parameters. Too low a temperature prevents proper adhesion; too high causes dye migration. Recommended: 300–320°F (150–165°C), 10–15 seconds, medium pressure. Pre‑press the garment for 5 seconds to remove moisture and wrinkles. After peeling, always perform a second press (3–5 seconds with parchment paper) to fully cure the adhesive and improve hand feel.Step 5: Choose High‑Quality White Ink and Film. Low‑quality white inks have unstable pigment suspension, making them prone to settling and clogging even with daily maintenance. Choose a high‑opacity white ink from a reputable supplier that’s fully compatible with your printhead. Pair it with evenly coated, high‑quality PET film.
Latest news and deals directly to your inbox subscribe for updated

leave a message

leave a message
If you are interested in our products and want to know more details,please leave a message here,we will reply you as soon as we can.

home

products

skype

whatsapp